In this blog, we are going to create a simple tic tac toe app. Since we are not the first to do this, we are going to focus mostly on the drawing of the parts. This is because we are going to describe how to animate different parts in the next blog. We are going to use the CustomPainter to draw the element of the game. This might complicate things a bit now, but this does make it easier to animate the game in the next step. Since even more, blogs are written about Tic Tac Toe in different languages we are going to cover the game logic onl quickly.
Drawing the lines
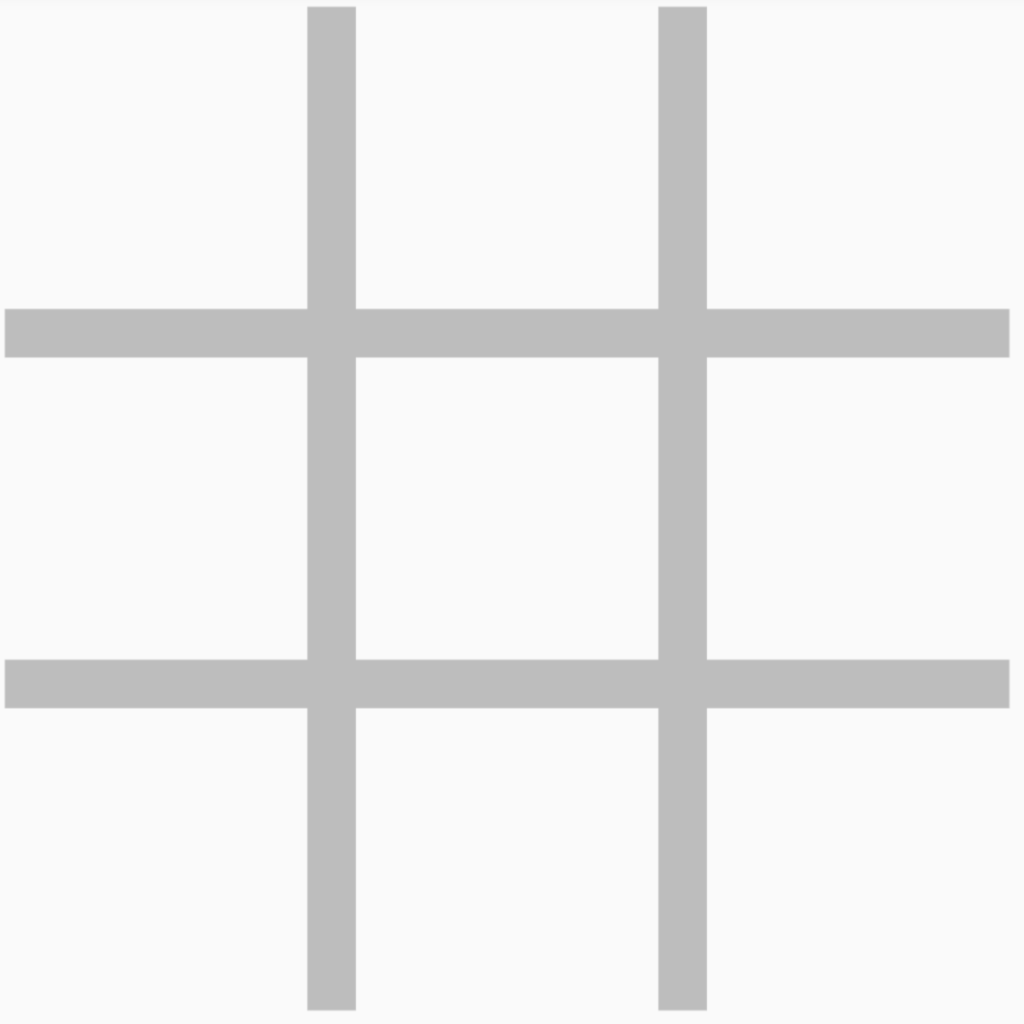
Let’s start by drawing the lines. The four lines are the basics of any Tic Tac Toe application and determine where the users can click to draw the crosses and circles. For the lines, we need to know the width and the height of the canvas to determine the maximum possible square. We will use the LayOutBuilder to determine the height and width available. We are going to use that to supply the LinePainter with the information needed to draw the lines.
body: Container(
        padding: const EdgeInsets.symmetric(horizontal: 10, vertical: 10),
        child: LayoutBuilder(builder: (context, constraints) {
          init(constraints.maxWidth, constraints.maxHeight);
          return Container(
            child: Stack(
              children: widgets,
            ),
          );
        }),
      )
We are going to draw four lines. We can compute the starting points by first computing the max size of the empty squares. This is the max width or height minus the width of the lines divided by three. The first line will start at the length + 1/2 line width since we are pointing to the center of the line. The second line will start at two times the length plus 1.5 times the linewidth. For the horizontal lines, we can simply reverse the x and the y of both lines. We can add those Linepainters to a list of Widgets which we will draw in the Stack widget.
  void init(double width, double height) {
    size = min(width, height);
    length = (size - (2 * axisWidth)) / 3;
    double h1 = length + axisWidth / 2;
    double h2 = 2 * length + axisWidth + axisWidth / 2;

    addLine(new Offset(0, h1), new Offset(size, h1));
    addLine(new Offset(0, h2), new Offset(size, h2));
    addLine(new Offset(h1, 0), new Offset(h1, size));
    addLine(new Offset(h2, 0), new Offset(h2, size));
  }

  void addLine(final Offset start, final Offset end) {
    widgets.add(CustomPaint(
        painter: LinePainter(start, end, axisWidth, Colors.grey[400]),
        child: Container()));
  }
If we would run the application now, it should give us the following four lines as shown in the image below:
Listening to clicks
The next part is about listening to clicks. So if a user presses on one of the squares we want to detect it and update that square with the corresponding players part. ( cross or square) For this, we are going to add multiple squares to the Stack layer. We will determine the top and left for each square so that the squares will be drawn in the correct place. The square is a simple container with a gesture detector to determine clicks.
class SquareModel {
  final int x;
  final int y;
  final double width;
  Function(int, int) callback;
  SquareModel(this.x, this.y, this.callback, this.width);
}

class Square extends StatefulWidget {
  final SquareModel model;
  Square({this.model}) : super(key: GlobalKey<SquareState>());
  @override
  SquareState createState() => SquareState();
}

class SquareState extends State<Square>  {
  double top;
  double left;

  @override
  void initState() {
    super.initState();
    left = widget.model.x * (axisWidth + widget.model.width);
    top = widget.model.y * (axisWidth + widget.model.width);
  }

  @override
  Widget build(BuildContext context) {
    return Positioned(
      top: top,
      left: left,
      child: GestureDetector(
        onTap: () {
      widget.model.callback(widget.model.x, widget.model.y);
    },
    child: Container(
    color: Colors.transparent,
    width: widget.model.width,
    height: widget.model.width,
    ),
    ),);
  }
}
We can add the squares to the list of widgets in the init method after adding the lines to the list of widgets:
    for (int x = 0; x < 3; x++) {
      for (int y = 0; y < 3; y++) {
        widgets.add(Square(model: SquareModel(x, y, handleClick, length)));
      }
    }
Updating a square
We can now detect the clicks, but we do still have to pass them back to the controller. We are then going to update the squares with a circle or cross. To pass back a function, we add a callback to the model, so that the square can call the callback.
class SquareModel {
  final int x;
  final int y;
  final double width;
  Function(int, int) callback;
  Player player = Player.empty;
  SquareModel(this.x, this.y, this.callback, this.width);
}
We can now process the callback and update the square with the correct information. For this, we are going to update the model with three states, empty, player_one, and player_two. To update the state of the square, we can reference the Key of the Square and access the SquareState.
  void handleClick(int x, int y) {
    setState(() {
      GlobalKey<SquareState> key = getSquare(x, y).key;
      if (isPlayerOne) {
        key.currentState.update(Player.player_one);
      } else {
        key.currentState.update(Player.player_two);
      }
    });
    isPlayerOne = !isPlayerOne;
  }
Now we can add an update method in the SquareState that calls the setState method to redraw the UI and to change the current player that selected the square.
  void update(Player player) {
    setState(() {
      widget.model.player = player;
    });
  }
Drawing a cross
Now we have a circle, we also want to draw a cross. We have already shown you have to draw lines, but now simply need to draw two lines and rotate them in the correct rotation. Another part we can reuse is the part of drawing the circle inside the square. So this should be easy right! Let’s start by explaining the CrossPainter. This class also extends the CustomPainter.
class CrossPainter extends CustomPainter {
  double radius = 0;
  @override
  void paint(Canvas canvas, Size size) {
    radius = min(size.height, size.width) / 2 - 10;
    Offset center = Offset(size.width / 2, size.height / 2);

    var crossAngle = (math.pi * 2) / 8;
    var crossAngle2 = crossAngle * 3;
    createPath(canvas, center, crossAngle);
    createPath(canvas, center, crossAngle2);
  }

  void createPath(final Canvas canvas, final Offset center,
      final double startingAngle) {
    Paint paint = Paint()
      ..color = Colors.blue
      ..strokeWidth = 15;
    var angle = math.pi;

    Offset firstPoint = Offset(
        radius * math.cos(startingAngle),
        radius * math.sin(startingAngle));
    Offset secondPoint = Offset(
        radius * math.cos(startingAngle + angle),
        radius * math.sin(startingAngle + angle));
    Offset firstActualPoint =
        Offset(firstPoint.dx + center.dx, firstPoint.dy + center.dy);
    Offset secondActualPoint =
        Offset(secondPoint.dx + center.dx, secondPoint.dy + center.dy);
    canvas.drawLine(firstActualPoint, secondActualPoint, paint);
  }

  @override
  bool shouldRepaint(CustomPainter oldDelegate) => false;
}
We can use the CrossPainter by changing the layout of the Square depending on the current player that has selected the Square. This can be done by adding a method that returns the correct Widget depending on the current player:
class SquareState extends State<Square> {
double top;
double left;
@override
void initState() {
super.initState();
left = widget.model.x * (axisWidth + widget.model.width);
top = widget.model.y * (axisWidth + widget.model.width);
}
void update(Player player) {
setState(() {
widget.model.player = player;
});
}
Widget getChild() {
switch (widget.model.player) {
case Player.empty:
return emptySquare();
break;
case Player.player_one:
return cross();
break;
case Player.player_two:
throw UnsupportedError("${widget.model.player} is not supported");
}
throw UnsupportedError("${widget.model.player} is not supported");
}
@override
Widget build(BuildContext context) {
return Positioned(
top: top,
left: left,
child: getChild(),
);
}
Widget emptySquare() => GestureDetector(
onTap: () {
widget.model.callback(widget.model.x, widget.model.y);
},
child: Container(
color: Colors.transparent,
width: widget.model.width,
height: widget.model.width,
),
);
Widget cross() => CustomPaint(
painter: CrossPainter(),
child: Container(
width: widget.model.width,
height: widget.model.width,
),
);
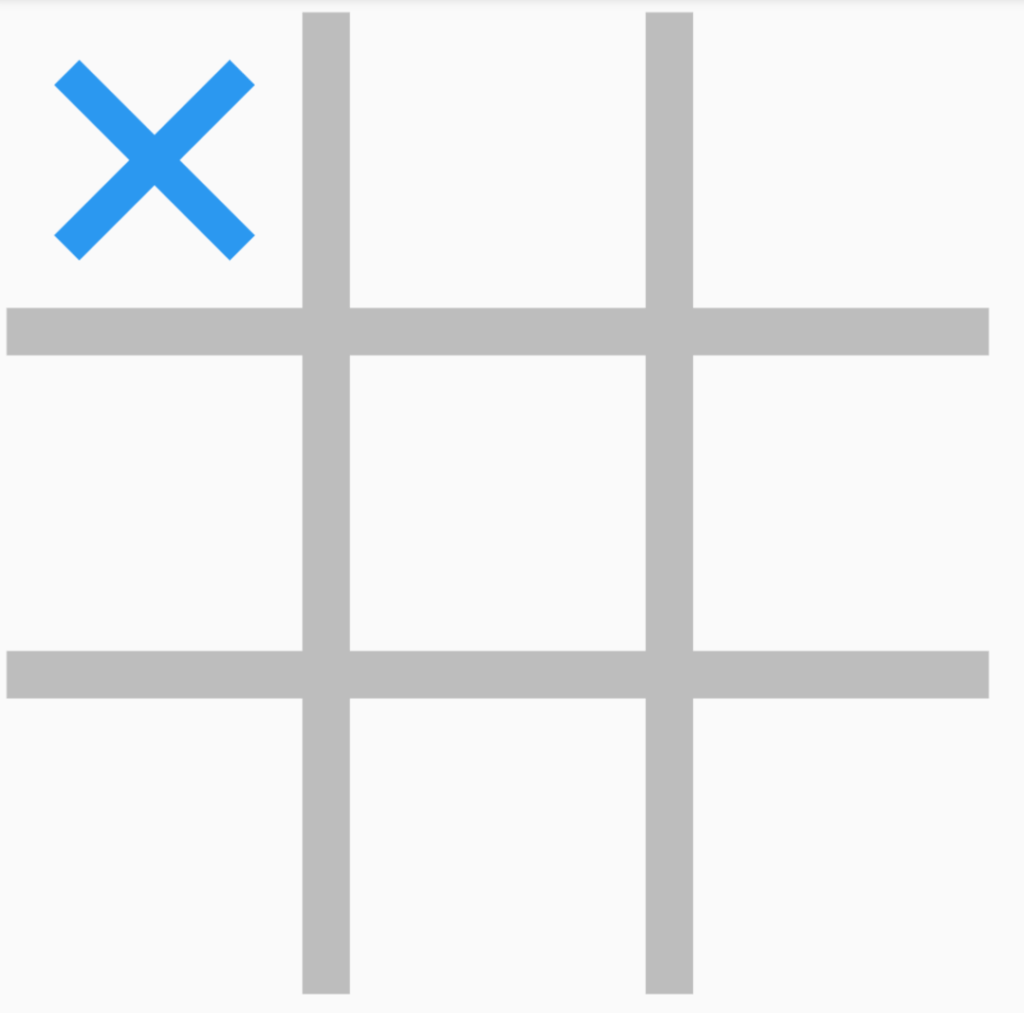
}This should give us the following view when we press on one of the squares.
Drawing a circle
So now we can update the square, we are going to want to draw a circle and a cross. Let’s start by drawing a circle. For this, we are going to extend the CustomPainter again. In the CustomPainter we can use the drawCircle method on the canvas. Here we can supply the paint, which will contain information about the drawing method. Here we choose PaintingStyle.Stroke to make sure the circle is not filled.
class CirclePainter extends CustomPainter {
double outerBorder = 15;
@override
bool shouldRepaint(CirclePainter oldDelegate) => false;
@override
void paint(Canvas canvas, Size size) {
double radius = min(size.height, size.width) / 2 - 10;
Offset center = Offset(size.width / 2, size.height / 2);
canvas.drawCircle(
center,
radius - (outerBorder) / 2,
Paint()
..color = Colors.orange
..strokeWidth = outerBorder
..style = PaintingStyle.stroke);
}
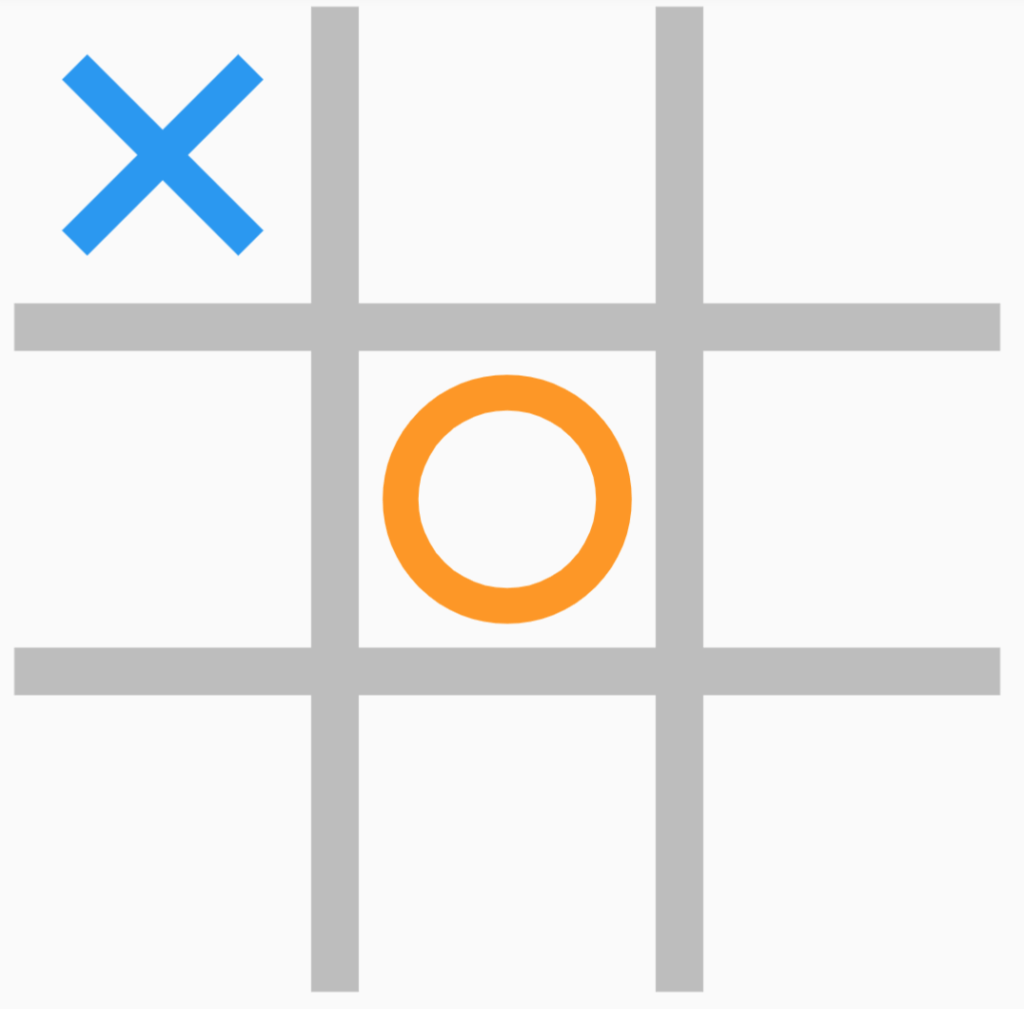
}Now we can add the circle in the same way as we did with the cross:
class SquareState extends State<Square>  {
  double top;
  double left;

  @override
  void initState() {
    super.initState();
    left = widget.model.x * (axisWidth + widget.model.width);
    top = widget.model.y * (axisWidth + widget.model.width);
  }

  void update(Player player) {
    setState(() {
      widget.model.player = player;
    });
  }

  Widget getChild() {
    switch (widget.model.player) {
      case Player.empty:
        return emptySquare();
        break;
      case Player.player_one:
        return cross();
        break;
      case Player.player_two:
        return circle();
        break;
    }
    throw UnsupportedError("${widget.model.player} is not supported");
  }

  @override
  Widget build(BuildContext context) {
    return Positioned(
      top: top,
      left: left,
      child: getChild(),
    );
  }

  Widget emptySquare() => GestureDetector(
        onTap: () {
          widget.model.callback(widget.model.x, widget.model.y);
        },
        child: Container(
          color: Colors.transparent,
          width: widget.model.width,
          height: widget.model.width,
        ),
      );

  Widget circle() => CustomPaint(
        painter: CirclePainter(),
        child: Container(
          width: widget.model.width,
          height: widget.model.width,
        ),
      );

  Widget cross() => CustomPaint(
        painter: CrossPainter(),
        child: Container(
          width: widget.model.width,
          height: widget.model.width,
        ),
      );
}
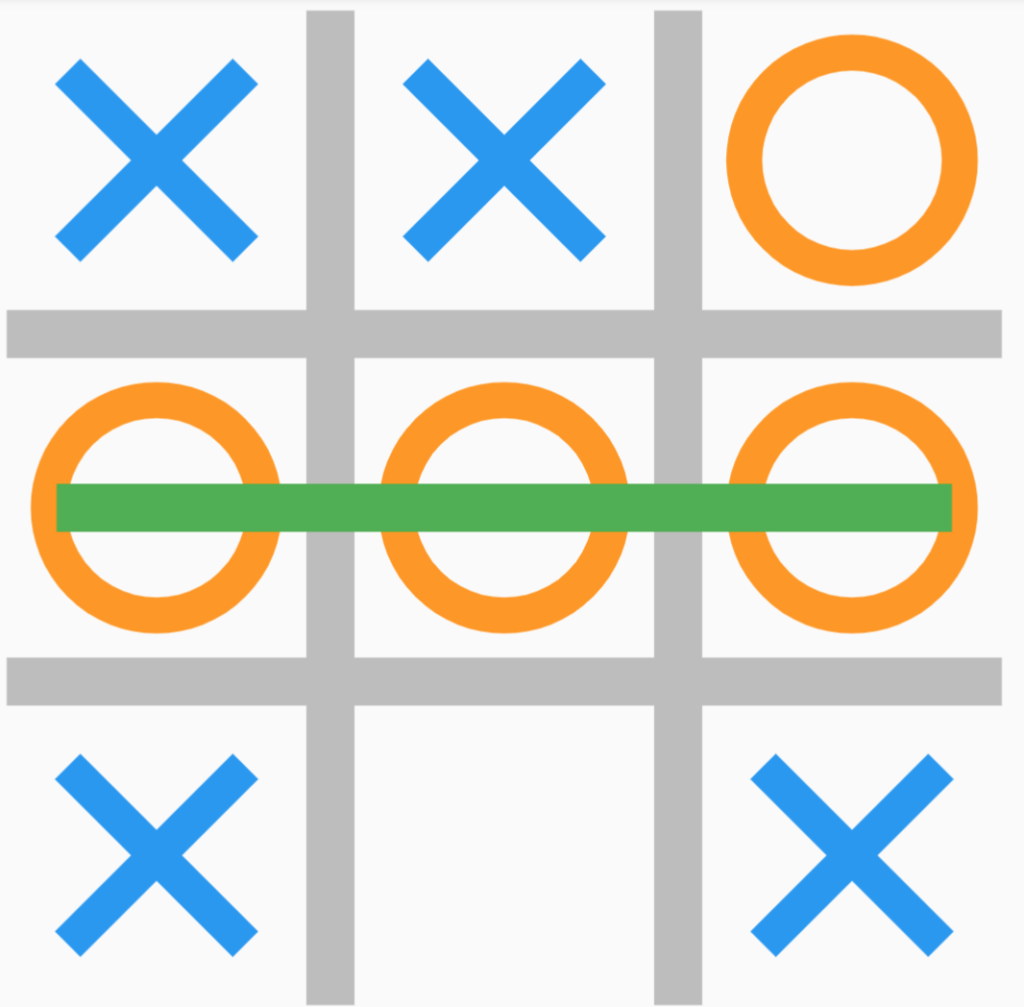
Drawing the winning line
Finally, we want to draw a line through the squares to show the winning move. For this, we add another Widget to the Widgets on the Stack Widget. We can also reuse the LinePainter from the first step. We only have to compute the point through which we want to draw the line. Since the start point on the line depends on whether the line is diagonally, vertically, or horizontally we compute those starting points during the calculation of the winning move.
  void handleClick(int x, int y) {
    setState(() {
      GlobalKey<SquareState> key = getSquare(x, y).key;
      if (isPlayerOne) {
        key.currentState.update(Player.player_one);
      } else {
        key.currentState.update(Player.player_two);
      }
    });
    checkIfPlayerWon(Player.player_one);
    checkIfPlayerWon(Player.player_two);
    isPlayerOne = !isPlayerOne;
  }

  void checkIfPlayerWon(Player player) {
    Result result = playerWon(squares, player, length);
    if (result.won) {
      setState(() {
        widgets.add(CustomPaint(
          painter:
              LinePainter(result.begin, result.end, axisWidth, Colors.green),
        ));
      });
    }
  }
The code can be found here on Github or you can play around with it in this Dartpad (All classes are in one file, so Github might be a cleaner option). In the next blog post, we will explain how to animate the drawing of the circle, the cross, and the winning line.